repairs, talbot express

Air Filter fix

The air filter housing is no longer available as a new part, used parts are not crazy money but probably in similar condition, so I decided to ‘fix’ the seized bolts with some new allen bolts.

Existing bolts were removed with my (newly acquired for this job) Dremel.. Always good to have a Dremel in the tool box..

New bolts fitted, lots of washers – I considered using epoxy resin/Araldite to fix the bolts in place, but they seemed to hold with a load of washers to add surface area friction. I used dome headed nuts to avoid any sharp edges and snagging in the engine bay. Not particularly pretty but it seems to be robust enough.

New air filter was fitted..

And the filter housing replaced atop the engine.

Service complete and job bodged jobbed.

Standard
repairs, talbot express, Uncategorized

Service Time

Its been a while since the last service, in the interim, the engine has been in and out so the coolant was changed, but the oil and filters needed a refresh. An order to Coastal Motorhomes was placed the week before and then I tracked down some 15W40 Mineral Oil on Amazon. Goodies arrived this week and this afternoon the van was driven onto the ramps, axle stands placed in situ and the “special” stone placed behind the rear wheel…

Normally when I start a maintenance project in the drive, the wind whips up from nowhere to complicate things. Today remained calm but instead the cool, grey, overcast sky promptly cleared to beautiful sunshine, roasting the half of me hanging out from under the van, the other half enjoying a hot oil bath as I wrestled with old filter. Time for a new filter removal tool as my Dad’s preferred tactic of smashing a screw driver through the old filter rapidly became a slippery mess, not helped by sweat pouring into my eyes, which couldn’t be wiped away by oily hands…

Anyway oil was drained, sump plug and new crush washer replaced, new oil filter (a smaller filter was supplied by Coastal this time) fitted and four(ish) litres of new oil poured in in stages, monitoring the dipstick to ensure I didn’t overfill, the front bumper yet again proving its worth as a shelf.

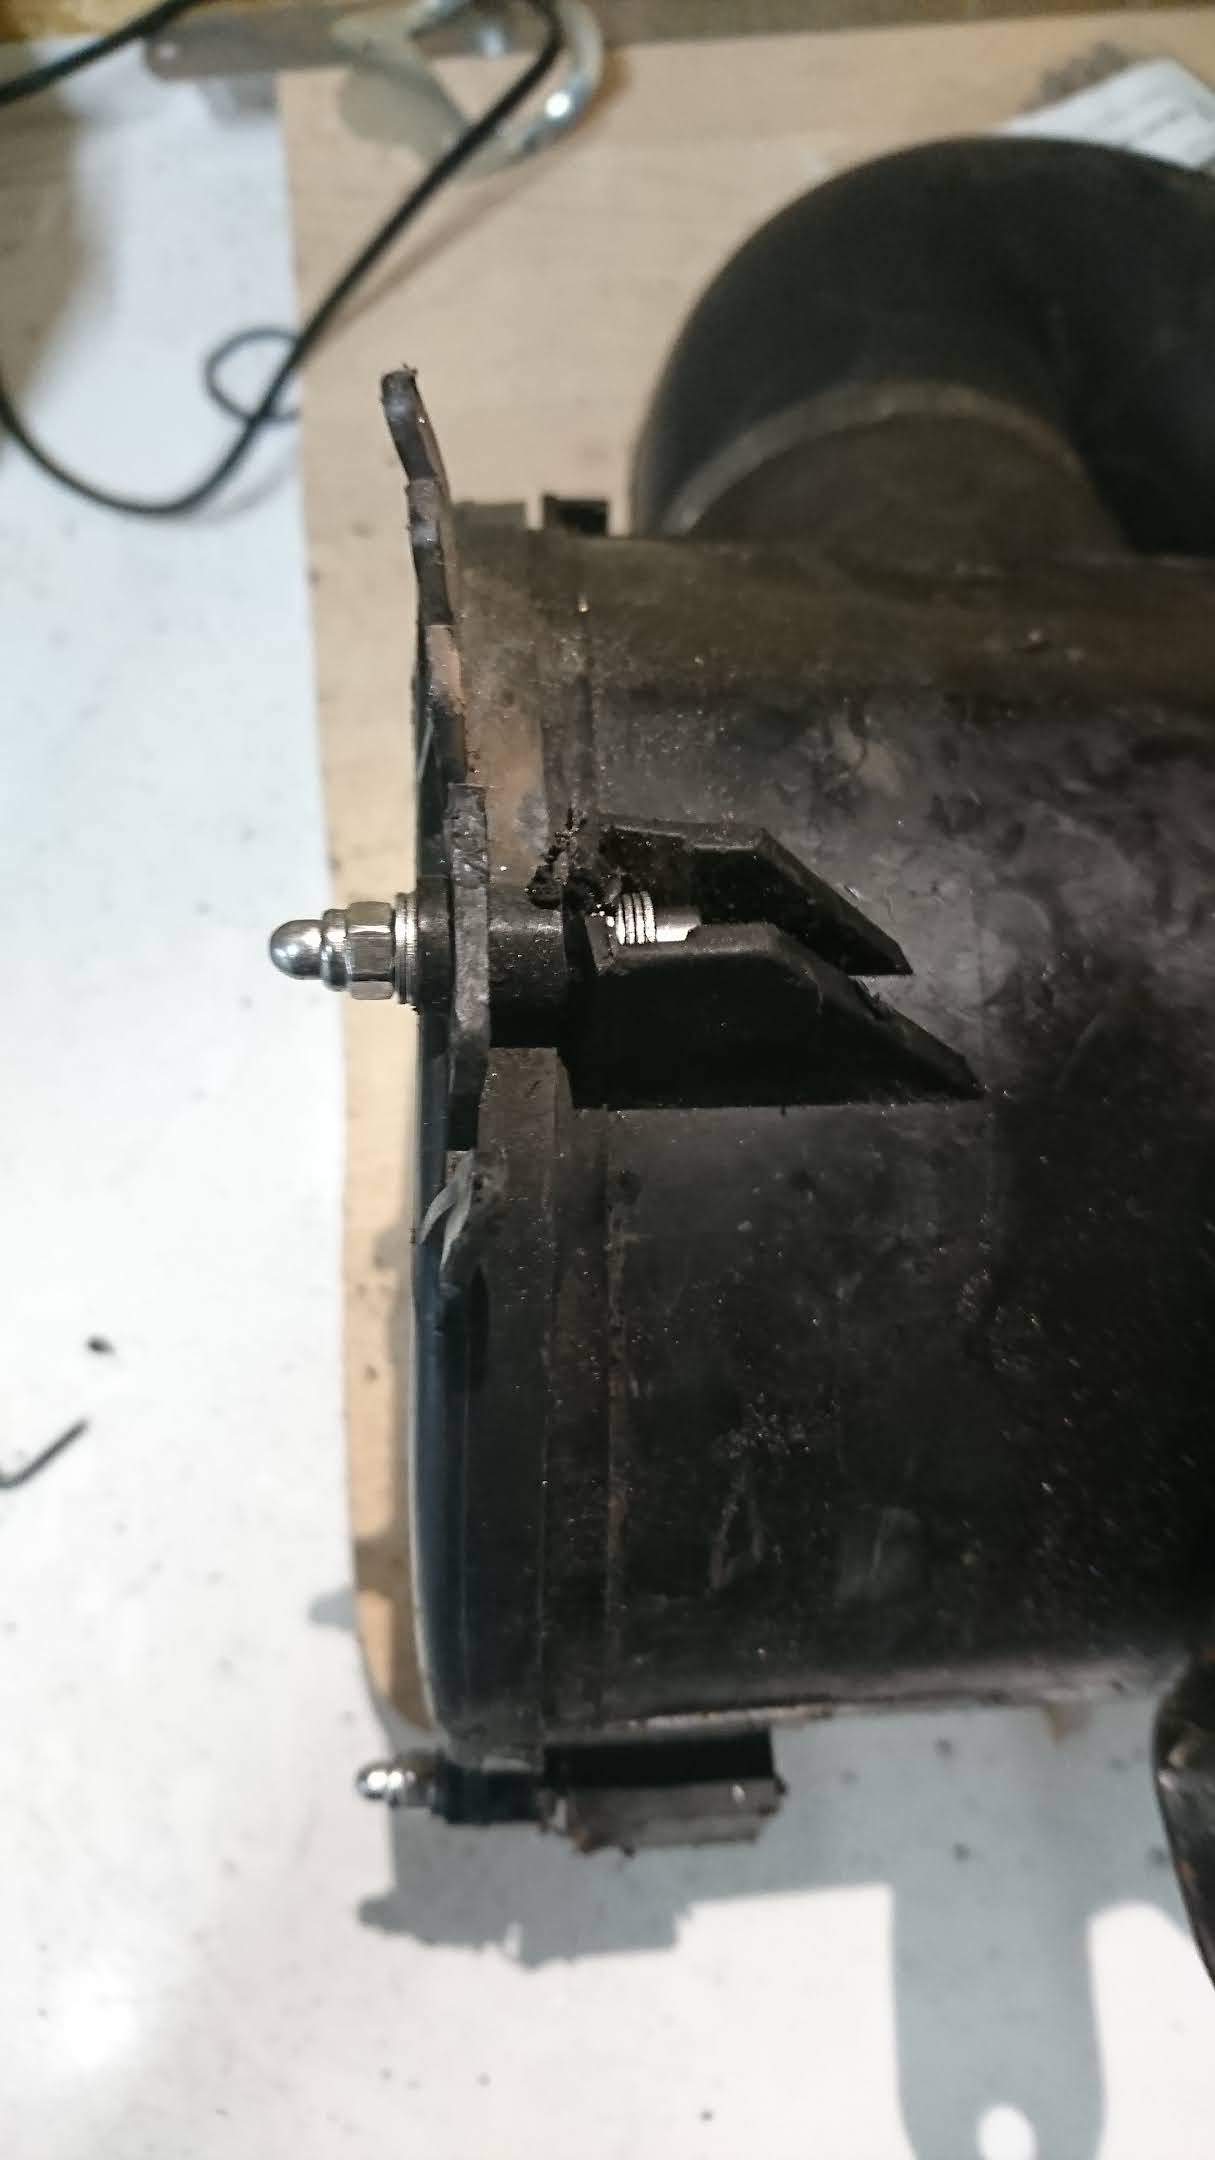
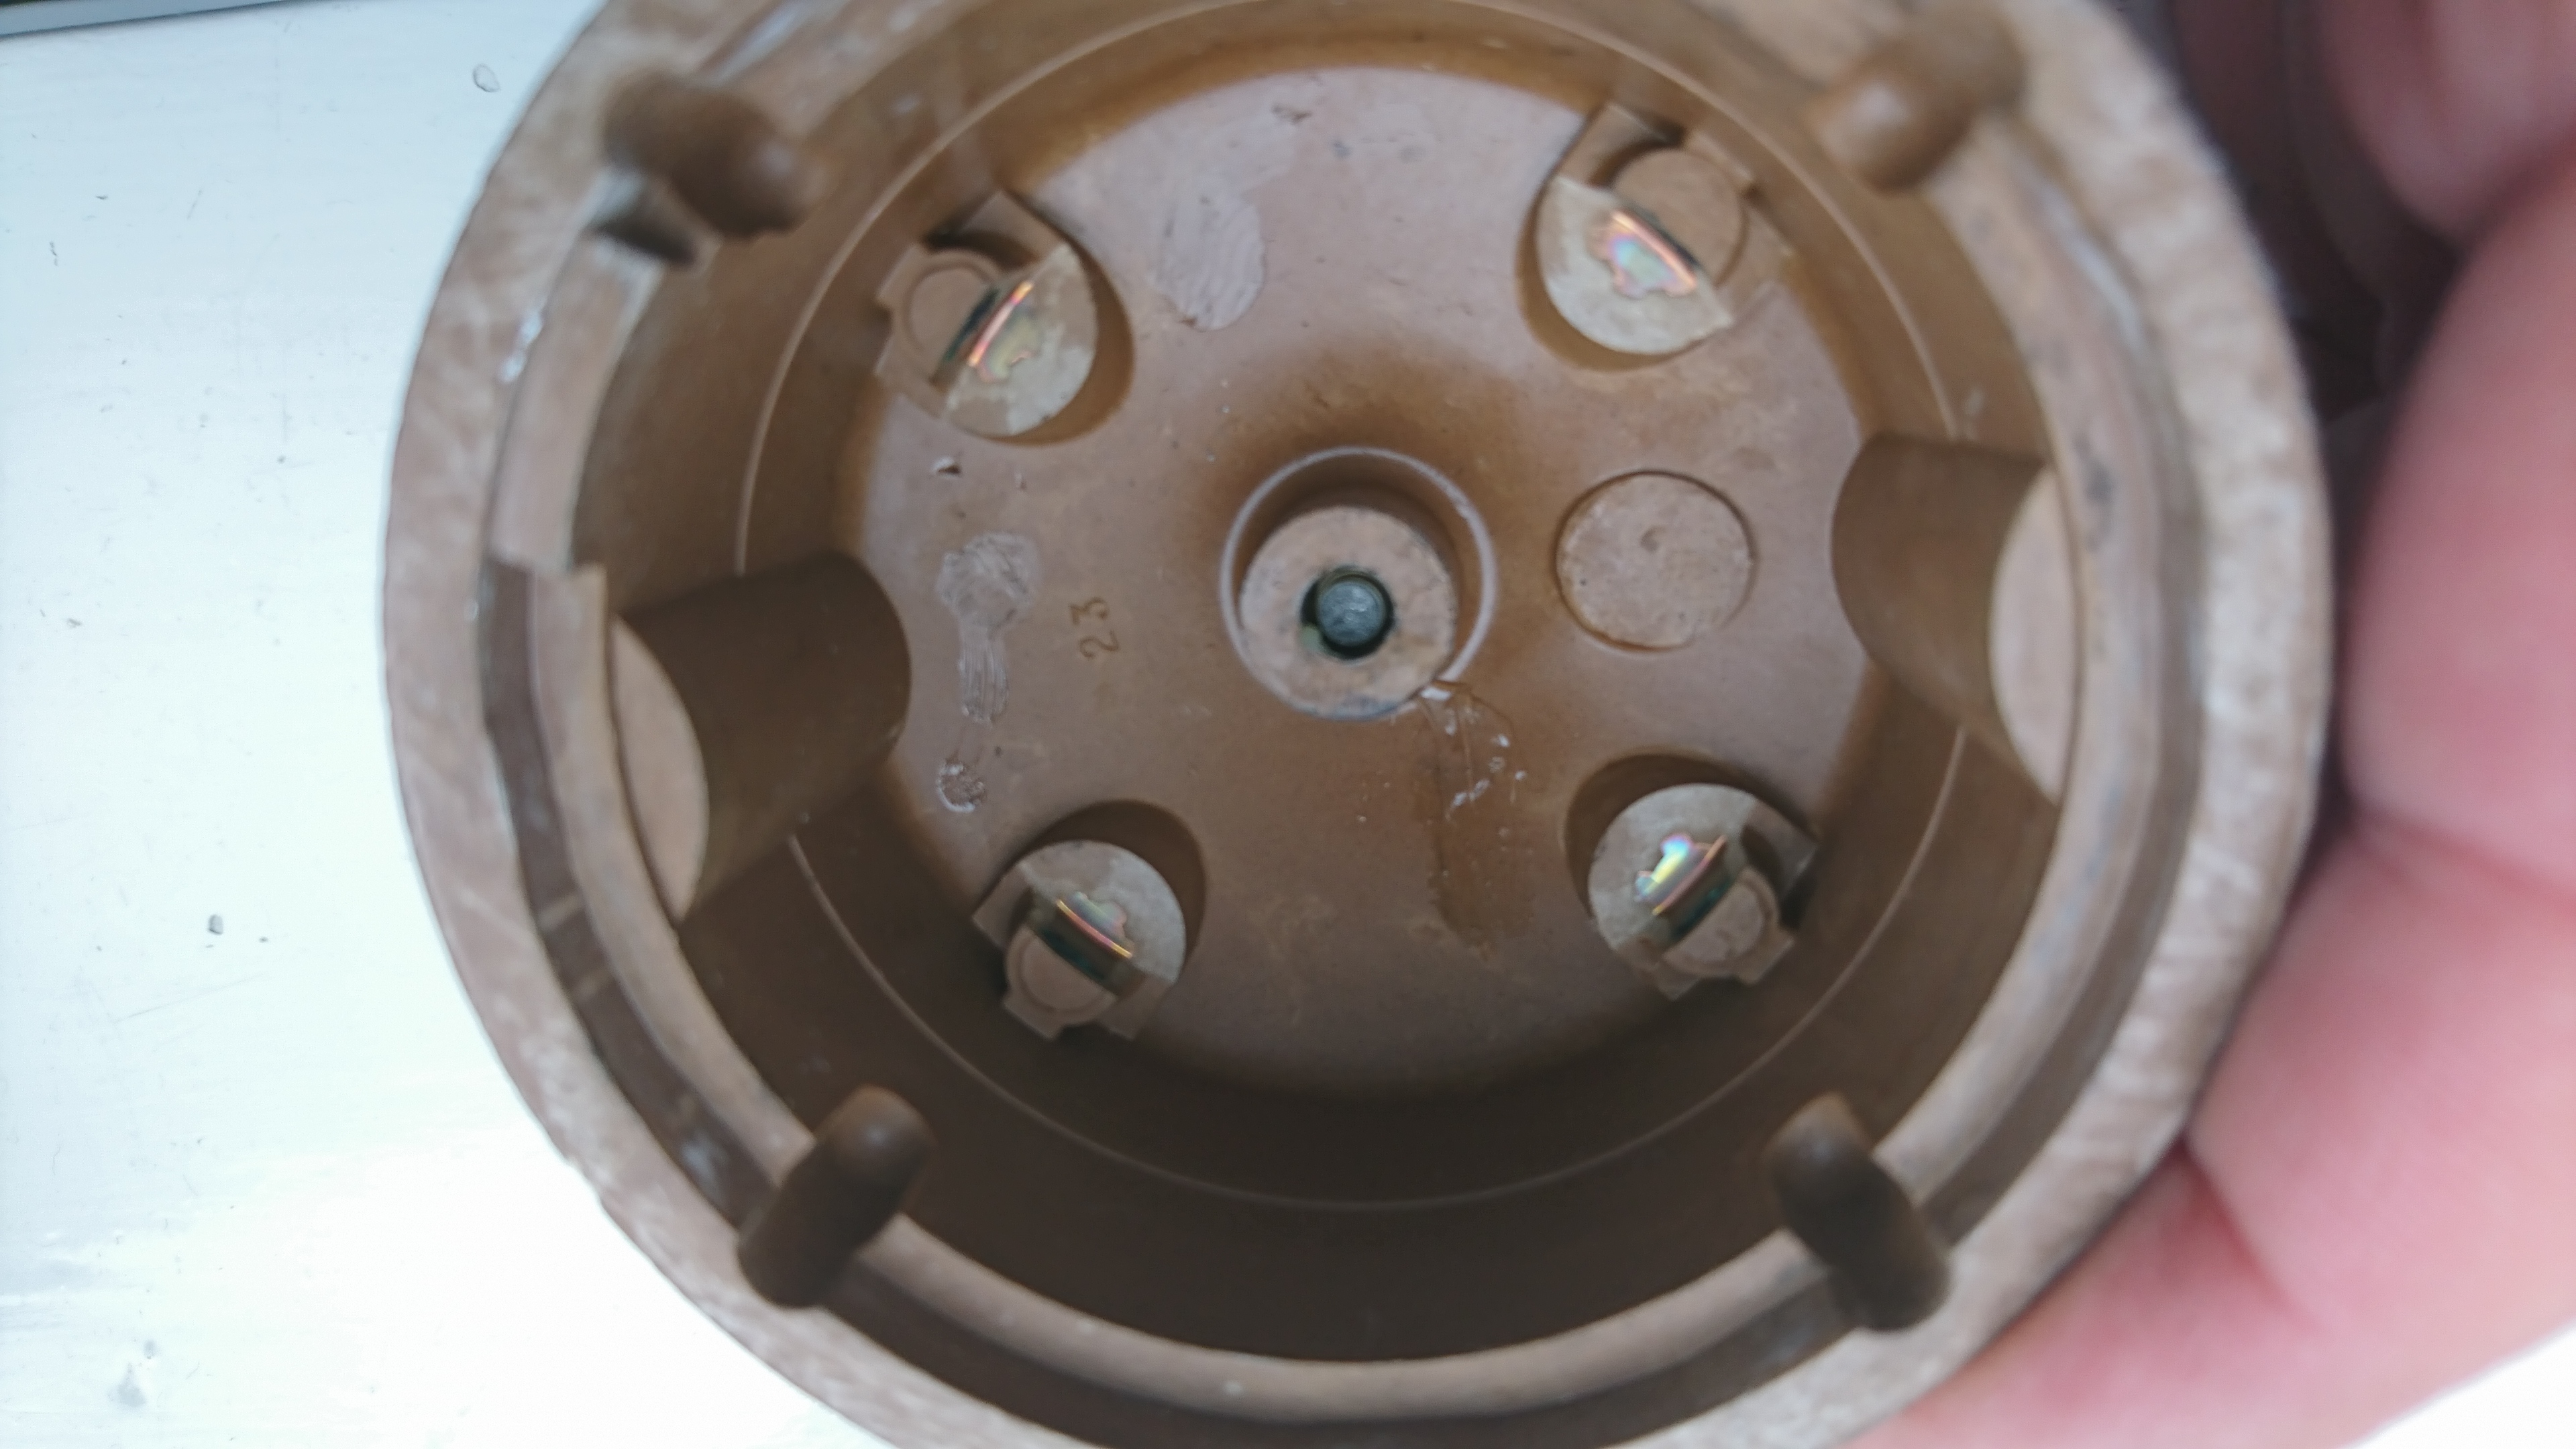
I managed to get the air box off easily this time, without removing the cabin air intake box and I even remembered to remove the dizzy cap to access the lower left hand nut… On removal though I completely failed to undo the corroded screws to get into the housing to replace the filter, the captive nuts were just spinning in their rather worn and battered plastic housing, which was annoying. I replaced the fuel filter and then refit the air box with the old filter still in situ. One to tackle another day as it will involve destroying the current fixings..

Turning the ignition key I thought I’d somehow buggered up the fuel lines as the engine turned but wouldn’t catch. I then remembered to refit the dizzy cap and Rudolph fired up instantly…. A quick drive up the local hill to get things hot and a level check and top up and all was good.

So for the record, I replaced

  • Oil
  • Fuel filter
  • Mileage 63773 (5694 miles since the last service in October 2019)

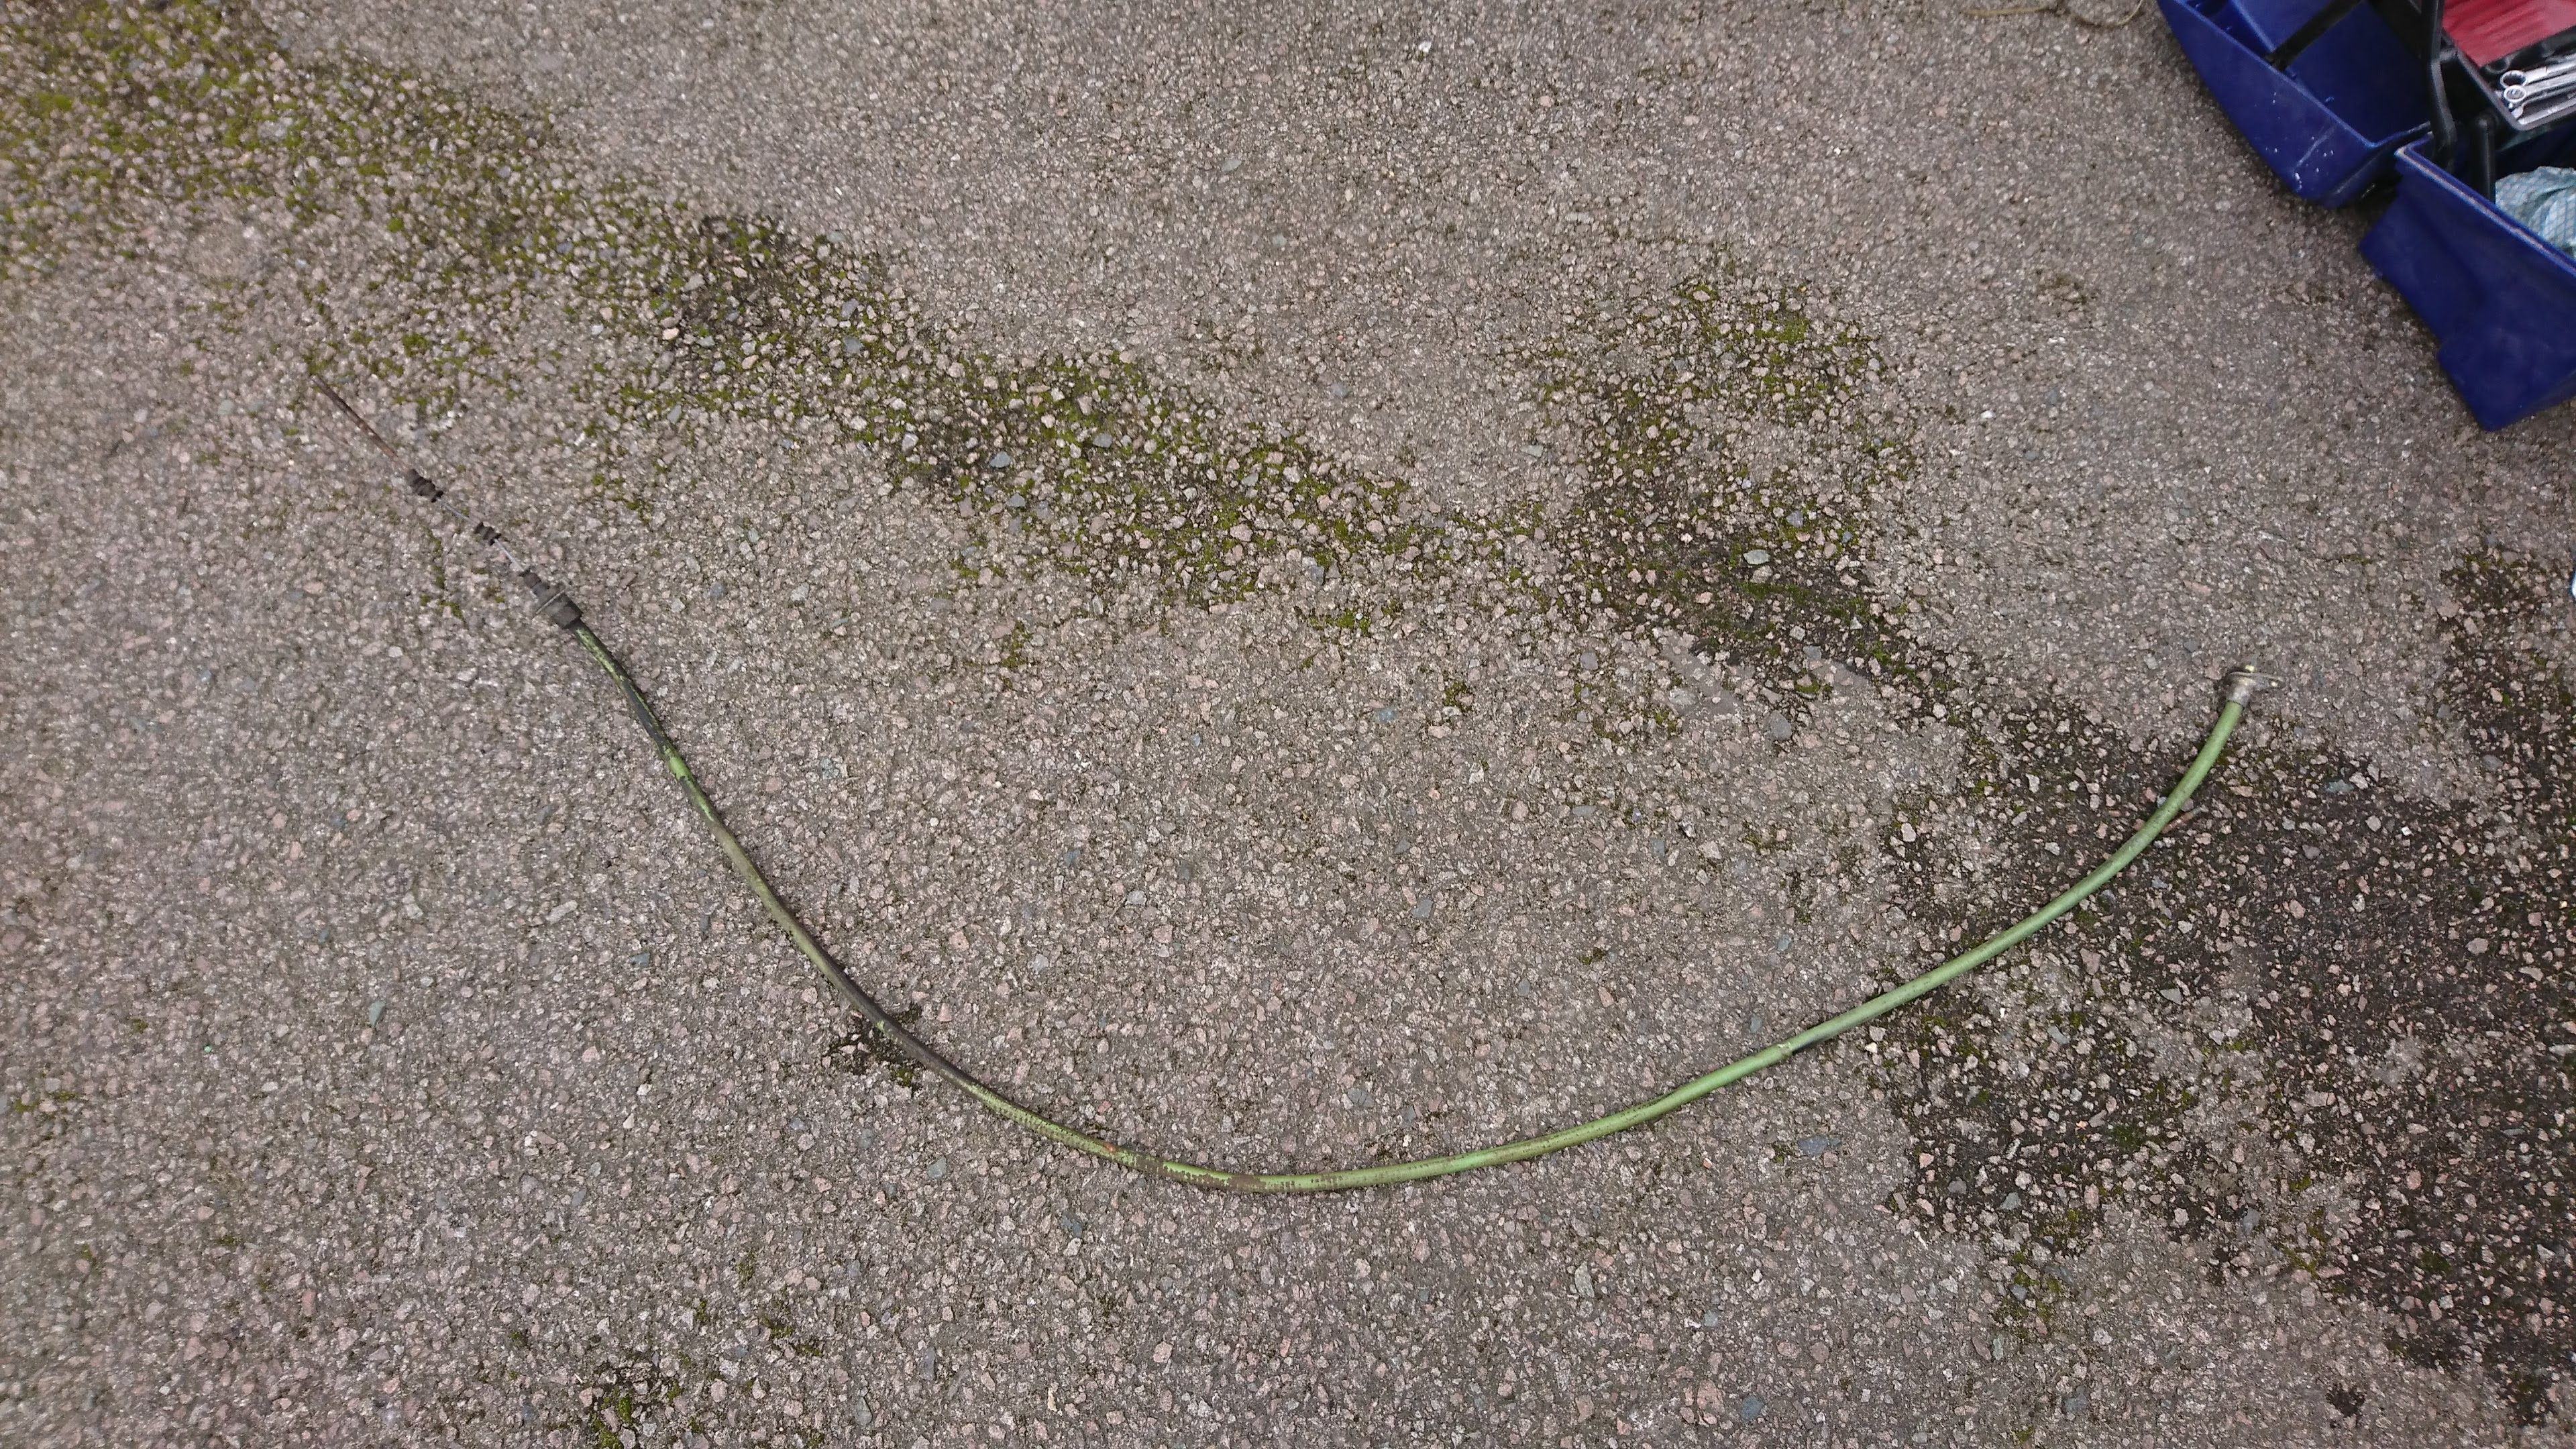
Next mission is to sort the air filter and look into a new vacuum nose for the brake master cylinder as the current one, whilst working, looks worryingly tatty where it attaches to the engine block.

Standard
repairs, talbot express, travel

Hever and tinkerage

After sailing through its MOT, we took the van for a Friday evening escape from London to the relatively close site at Hever. The evening meal was a cold spread courtesy of the Waitrose at Edenbridge. The site provided wood, whilst ultimately burny, was a bit damp and took a while to get going

Once flames were established, we kicked back and enjoyed the last of the light. The Talbot bumper makes a perfect perch for drinks, needs an ice bucket attachment…

Next morning pancakes for breakfast and then back to London for lunch.

After lunch, there was some investigation of the sound of escaping water behind the bathroom sink, which was traced to a loose connection to the cold tap. Tightening up the clips and a bit of plumber’s tape on the actual plastic male connector seems to have fixed it. The actual leak seemed to be captured by the bucket/sump which forms the sink waste but I managed to soak everything during the repair so left it open to dry overnight.

Next morning, I put it back together with assistance of the youngest and then undertook the procurement (from Halfords) and installation of a USB charger socket to the back seats. The boys listen to music constantly and whilst driving it would be good to end the carousel of device charging at the front. It also puts a charging point at the head end of the ‘downstairs’ beds.

There was a bit of trim removal and some holes drilled… I took a feed off the driver’s side light fitting and after checking all fuse ratings and identifying positive and negative with the multimeter, ran new 8A wires from the existing connector block above the window, down to the under-seat storage. I put a 5A inline fuse on the positive feed to the socket, connections being via crimps and spade connectors to the socket.

All seemed to go back together happily and it seems to work. The irony of facilitating ease of screen usage in our ‘family outdoor adventure wagon’ is not lost on us, the main purpose of keeping the van is to get us all together off devices… I guess its all about balance….

Service items have been ordered, an oil and filter change will be imminent ready for the planned August trip.

Standard
repairs, talbot express

Major surgery

After another noisy journey north to drop Rudolph at the excellent Award Motors in Willenhall, a week later, he’s back on our drive after a bit of work under the bonnet.

Two of the manifold studs had sheared, to drill them out properly, it was felt best to pop the engine out. Whilst out, it made sense to replace the clutch and engine and gearbox mounts, a few bearings and seals and the odd electrical connector. Turns out the middle exhaust section was actually a flipped around back box section (which explains this), so that came out as well, to be replaced with the correct part. Belts were also replaced, just in time judging by the state of the ‘v’ belt, which was perished and split.

Costs were very reasonable for the amount of work done, and Andy at Award is a very helpful, friendly and knowledgeable chap who appears to be single handedly keeping half of the UK’s Peugeot/Citroen/Fiat/Talbot J5s on the road.

The clutch is now light and silky smooth; the clutch pedal actually being in a relatively normal position, which is nice. Nicer is not to fret about the manifold anymore.

On a related note, we took everything out of the van whilst it was being fixed. Reviewing it all below, its a surprising amount of junk considering we think we travel relatively light….

A quick audit on the bathroom scales gives the above assorted tat a weight of roughly 69kg.

So with two kids and two adults, around 60L in the fresh water tank, say 20L in a full loo with the flush tank topped up, 10L of water in bottles in the kitchen, sleeping stuff, clothing and a fridge full of food I reckon we’re carting about 375-385kg about on top of the van fixtures. Throw in 4 bikes and paraphernalia, we’re up another 40kg plus the weight of the rack….

Need to dig out the handbook and check payload..

Standard
repairs, talbot express

Headlights

So the headlights have provided entertainment since we took ownership of Rudolph in December 2016 (time flies!). Intermittent, occasionally doing an impression of an aquarium (the near side assembly leaked impressively), and not tremendously effective in the dark, they finally gave up and crumbled into a pile of rust on a recent local trip.

New lights were ordered from Coastal Motorhomes who are one of the few sources of bits for these increasingly ancient vehicles. Right hand drive lights are now impossible to source new, so a shiney set of left hand drive lights arrived a few days after order. These were parked in the garage and sat there for a couple of weeks until today.

Being a bloke, I naturally declined to read up on anything by way of a guide to replacement, and set at the van with tools, removing the front grille (mainly because I wanted to see what lurked behind) to get at the light assembly. The fixings were of course rusty and seized solid, it was 35 degrees centigrade and the sun had moved around on to me so, dripping with sweat, I decided to bypass soaking them in penetrating oil and working at them with a hacksaw/molegrips as I’d damaged the screwdriver slots, and in typical, classic-van maintenance style, just hoiked the old fittings out.

Everything went back together reasonably ok although I need a further larger ball headed bolt to make each assembly properly secure, the ever useful duct tape coming into action again as a temporary measure. These are being investigated currently and I’ll update when I get them. I also need a new near-side side light as the bulb had fused to the holder and refused to budge. Crunch…..

When the additional bolts turn up, I’ll actually clean up the normally obscured areas in an attempt to make Rudolph look his best.

I’ve now stuck on the ‘beam benders’ to not dazzle UK traffic and if I can muster the energy/enthusiasm (unlikely) this evening will be an introduction to the dark arts of beam alignment. Can’t wait……

Standard
repairs, talbot express

Dizzy Cap

Not the most exciting post but one for the file, as it were…

New distributor cap and rotor arm was picked up today from the post office where it has been sat for two weeks. Took all of 2 minutes to swap over the parts, the old dizzy cap had severe corrosion to one of the connections and the centre pin had snapped. Oddly the van was running fine before I disturbed it…. The rotor arm was showing a tiny bit of wear.

So another job jobbed, maybe we’ll actually get away in the van if it ever stops raining…..

DSC_4762

Standard
repairs, talbot express

Service time


Various goodies arrived from Coastal Motorhomes and after tracking down some 15w40 Mineral oil and waiting for the rain to stop, it was up on the ramps.

After a suitable amount of faff and more oil spillage than normal (rushing to beat the rain), Rudolph has fresh:

  • Oil
  • Air filter
  • Spark plugs
  • Mileage 58079 (4251 since service Sept last year)

The fuel filter was changed before our August holiday.

The centre pin from the dizzy cap fell out when I popped it off to access the lower nuts to the air filter housing. I put it back in, held by a blob of grease and the van fired up and ran fine – it didn’t catch instantly as it normally does when warm so a new dizzy cap and rotor is inbound.

I also removed the tape from the headlights and realised that due to work being done on the house, we’ve not been away since August!


Standard
repairs

Bodywork…

Fed up of looking at rust bubbles on the wheel arches and various other bits of Rudolph’s exterior, it was time to get the power tools out and tidy up botch the paint work in time for our August family holiday.

Various abrasive discs and pads were ordered, a couple of trips to Halfords and Wickes later and we were good to go.

DSC_4430

Over two weekends, rust, metal and old filler were abraded away, Kurust was liberally applied and much new filler was reapplied. Near side was done in a day, with about 30 seconds of help from the eldest..

It is an appalling job on close inspection but it will do for now.

On returning from the South Downs this morning, the off side was tackled..

This side was much worse than the near side, with rust all the way through the inner wing at the front…

Mindful that this is a quick fix to get us through the summer and in full knowledge that it will be bubbling again within a few months, final sanding and finish coats were somewhat rushed to get the whole thing done in time for tea!

It almost passes muster at ten feet, looks ok from twenty and properly sh*te on close inspection.

The intention is to get Rudolph into a body shop to get a proper overhaul over winter. In the interim, once the paint has hardened, I may go over it with wet and dry and T-Cut to soften the masked edges…

Standard
repairs, talbot express

Snapped Clutch Cable

Since we’ve owned Rudolph he has so far never let us down. We’ve had the odd moment of excitement watching the temperature gauge do strange things (dodgy earth), cooked his brakes (our fault) and burned through a couple of CV boots (see cooked brakes) but in 2 years and over 15,000 miles he’s not once dropped us in the lurch.

Until recently. One call out of recovery two weeks ago to attend to a recalcitrant starter motor (fixed with a lump hammer) and then last week the clutch pedal disappeared mid gear change, leaving me to coast to a gentle halt just outside of Richmond Park. The cable had simply snapped by the pedal attachment where it passes through the bulkhead. Fast forward two and a half hours and he’s back on the drive and a new clutch cable is on its way in the post for the princely sum of £16 inc. VAT and postage.

So the Russek manual is concise in its description of the clutch cable replacement:Russek Clutch
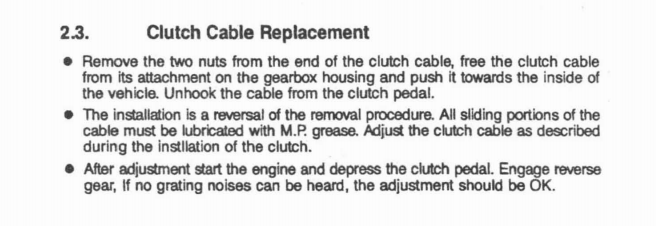
And so it was, except of course the nuts were rusted on the end and in a fit of pique I resorted to hacksawing the old cable off under the engine..

What is not referred to in the manual is the frustratingly idiosyncratic/French routing of the cable which requires the removal of the spare tyre, cabin air intake box and coolant expansion tank to negotiate all the clips. The nut attaching the cable housing to the firewall is also irritatingly recessed, blocked from socket access by the brake master cylinder and jammed between two other projecting captive bolts giving about 5 degrees of arc to swing the 10mm spanner.

After much additional faffing the old cable was out and the new one was greased and fitted, the pedal fitting being straight forward with a simple sprung clip fitting holding it together. I tightened up the adjustment bolts and accidentally got it pretty much bang on first time. No grating noises could be heard, and after a quick run around the local area, all appears in order. The clutch is slightly lighter in action now which is a bonus. I’ll keep an eye on the adjustment bolts until all beds in, if it is anything like a push bike, the cable will stretch a bit before settling down.

The offending dead cable.

DSC_3939

Like the fact that medieval techniques involving hammers and saws keep this thing on the road.

Onwards!

Standard
repairs, talbot express

Window ‘repair’

When we bought the van, the inner pane to the driver’s side, plastic side window had a small broken section with cracks radiating out. No idea how a previous owner had broken this (they are tough things) but irrespective, in the early days of our ownership I drilled the cracks at the ends to stop them spreading thinking we’d replace the window at some point.

It appears these windows are hard to come by as my efforts at getting them from breakers have been so far unsuccessful, new old stock doesn’t exist and bespoke replacement panels can be had albeit for a small fortune…

In a flurry of minor diy projects, the window hole got a tidy up!

Depending on how cold it gets and if condensation is an issue, it may get a new sheet of clear perspex bonded over it.

Standard